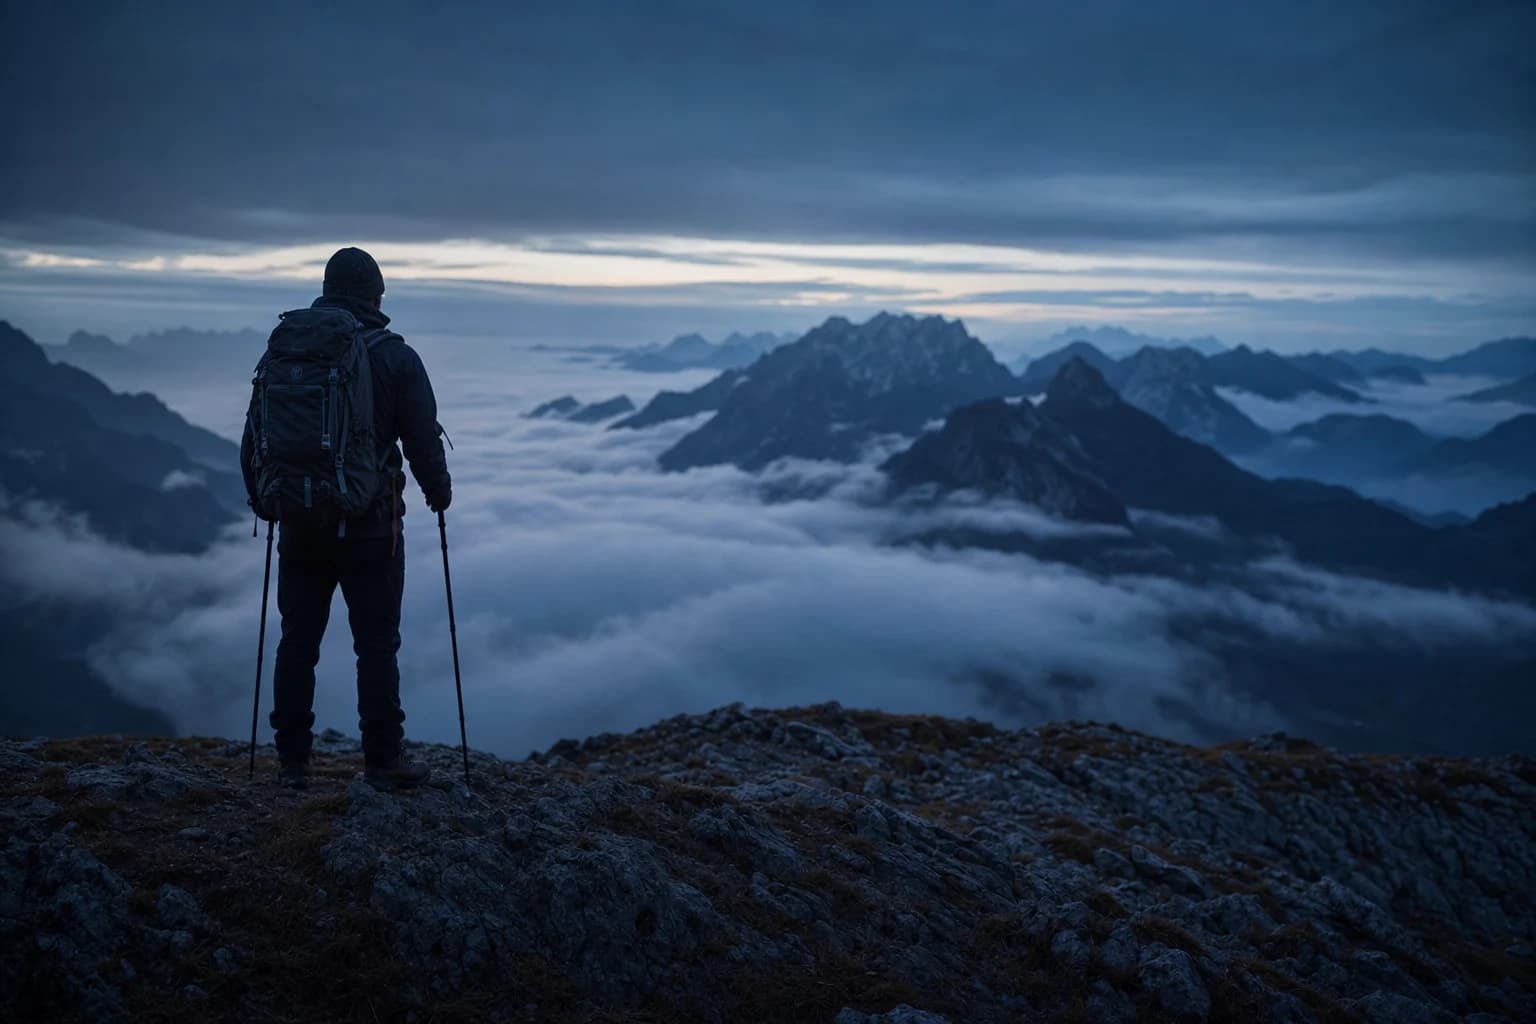
Entre enero y julio de 2023 la Guardia Civil rescató a 899 personas en la montaña española. La causa número uno no fue el mal tiempo ni la mala suerte: fue sobreestimar las propias posibilidades, presente en el 58% de los casos. Y la actividad que más rescates genera no es el alpinismo técnico: es el senderismo.
Ver en YouTube · youtube.com/@joehard982
No te cuento esto para asustarte, sino porque casi todo eso se evita con dos cosas que no cuestan un euro: elegir bien la ruta y avisar de por dónde vas.
Llevo más de veinte años en la montaña y he visto de todo: gente estrenando botas el día de una travesía de 20 km, familias saliendo a las tres de la tarde en noviembre sin frontal, y a mucha más gente de la que crees subiendo con vaqueros. Esta guía es lo que me hubiera gustado leer cuando empecé: lo básico de verdad, en orden, y sin decirte que necesitas unas botas de 300 € para dar un paseo por Guadarrama.
Senderismo, trekking y montañismo: no son lo mismo
| Qué es | Duración | Material | |
|---|---|---|---|
| Senderismo | Caminar por senderos señalizados | Unas horas o un día | Básico |
| Trekking | Travesías largas, a veces sin sendero claro | Varios días | Intermedio, con pernocta |
| Montañismo | Ascensiones, terreno técnico, nieve o hielo | Variable | Técnico (crampones, piolet) |
Este artículo va del primero. Y la buena noticia es que el senderismo es la puerta de entrada más barata y más segura a la montaña. No necesitas experiencia previa ni una forma física especial. Necesitas criterio.
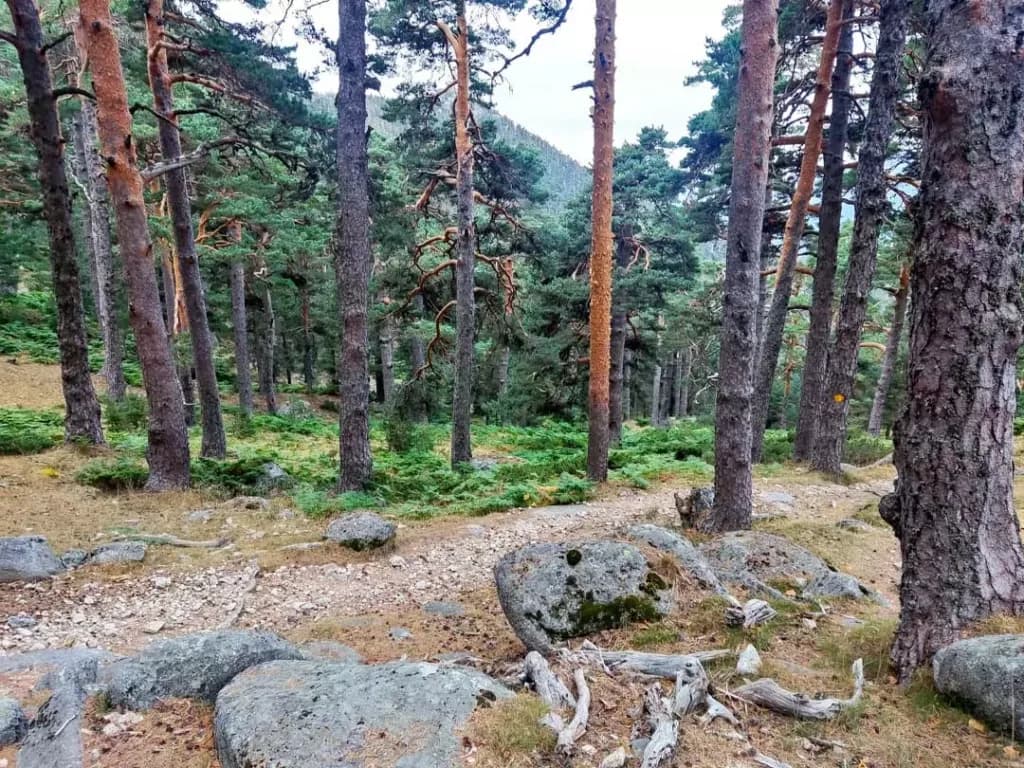
Lo primero no es el material: es elegir bien la ruta
Aquí es donde falla el 90% de la gente que empieza. Se gastan 200 € en botas y luego eligen una ruta que les queda tres tallas grande.
El desnivel importa más que la distancia
Es el error más repetido. Miras una ruta, ves «8 km» y piensas que son dos horas andando. Pero 8 km con 800 metros de desnivel positivo te pueden costar 5 horas y dejarte hecho polvo, mientras que 12 km llanos los haces charlando. El desnivel acumulado es el número que tienes que mirar primero.
Cómo calcular cuánto vas a tardar
Regla de Naismith: 1 hora por cada 5 km de recorrido, más 1 hora por cada 600 m de desnivel positivo.
Ejemplo: una ruta de 10 km con 600 m de desnivel son 2 horas de distancia más 1 de desnivel, es decir 3 horas de marcha efectiva. A eso súmale paradas, fotos y comida: en la práctica, multiplica por 1,3. Si estás empezando, sé conservador: 4 km/h en llano y 300 m/h de subida.
El MIDE: el sistema que deberías aprender a leer
En España muchas rutas vienen valoradas con el MIDE (Método de Información de Excursiones), recomendado por la Federación Española de Deportes de Montaña. Puntúa de 1 a 5 en cuatro parámetros:
- Medio: severidad del entorno natural.
- Itinerario: dificultad de orientación, si está claro por dónde se va.
- Desplazamiento: dificultad del terreno bajo tus pies.
- Esfuerzo: 1 es hasta 1 hora, 2 de 1 a 3 horas, 3 de 3 a 6 y 4 de 6 a 10 horas de marcha efectiva.
Para tus primeras rutas busca MIDE con valores de 1 y 2. Si ves un 4 o un 5 en cualquiera de los cuatro, déjalo para más adelante.
- Rutas 1 a 3: 5-7 km, menos de 200 m de desnivel, circular y bien señalizada.
- Rutas 4 a 8: 8-10 km, 300-400 m de desnivel.
- A partir de la 10: ya puedes plantearte 12-15 km con 600-700 m.
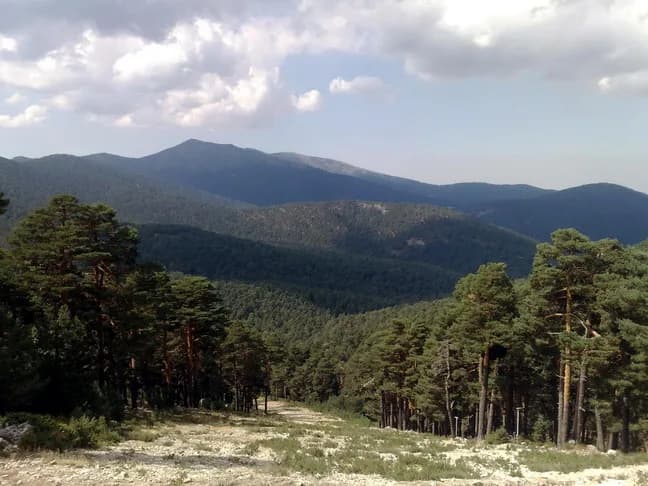
Aprende a leer las marcas del sendero
En España y en buena parte de Europa los senderos homologados están señalizados con un sistema de colores registrado por la FEDME. Saberlo te ahorra sustos:
- GR (Gran Recorrido): blanco y rojo. Senderos de más de 50 km.
- PR (Pequeño Recorrido): blanco y amarillo. Entre 10 y 50 km.
- SL (Sendero Local): blanco y verde. Menos de 10 km.
- Dos rectángulos paralelos: continuidad, vas bien.
- Trazo en ángulo: cambio de dirección, gira.
- Aspa o cruz de San Andrés: dirección equivocada, vuelve.
En alta montaña verás también hitos o mojones: montoncitos de piedra que marcan el camino, especialmente valiosos con niebla. No los deshagas y no construyas otros donde no toca: confundes a quien viene detrás.
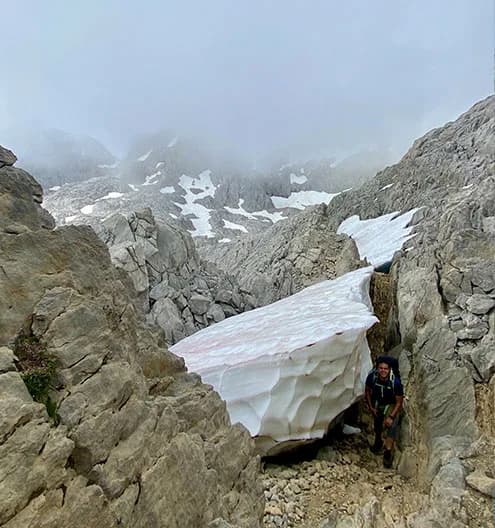
El material básico: lo que necesitas de verdad
Voy a ser directo: de todo lo que puedes comprar, solo hay dos cosas donde merece la pena invertir de verdad, el calzado y la chaqueta impermeable. El resto se resuelve con marca blanca y funciona igual.
1. El calzado (aquí sí, gasta)
| Tipo | Para qué sirve | Cuándo elegirlo |
|---|---|---|
| Zapatilla de trail | Ligera y transpirable, poca sujeción | Terreno fácil, verano |
| Zapatilla de trekking | Más protegida y rígida que la de trail | Senderismo habitual, terreno mixto |
| Bota media caña | Sujeción de tobillo y protección | La más versátil para empezar |
| Bota alta | Máxima rigidez y protección | Travesías largas con mochila cargada |
Si empiezas y solo puedes comprar un par, ve a bota de media caña: te cubre el 90% de las situaciones. En el vídeo monto el kit con la Quechua MH500, que es la de perfeccionamiento y aguanta perfectamente 20 salidas al año; si vas a salir menos y por terreno fácil, la Trek 100 cumple de sobra y te deja más presupuesto para la chaqueta.
- Compra media talla más que tu calzado de calle: en bajada los dedos se van hacia delante y acabas con las uñas negras.
- Pruébatelas al final del día, cuando el pie está más hinchado, y con el calcetín técnico puesto.
- El talón no debe levantarse al subir. Si baila, ampollas garantizadas.
Sobre el Gore-Tex: te mantiene seco con barro, lluvia o nieve, pero en verano el pie se calienta un montón. Y lo más importante: no estrenes botas el día de la ruta. Póntelas dos o tres semanas antes para ir a comprar el pan. Es el error más caro en dolor por euro invertido. Si quieres el detalle fino de este tema, desgloso mis tres pares de botas y para qué terreno uso cada uno en un artículo aparte.
2. Los calcetines (lo más subestimado)
Fuera el algodón: retiene la humedad y un calcetín mojado dentro de una bota es una fábrica de ampollas. Ve a lana merino o sintético técnico. Con dos pares tienes de sobra, cuestan entre 8 y 15 € y son la mejor relación calidad-sufrimiento evitado del mercado.
3. El sistema de tres capas
- Capa base: su trabajo es sacar el sudor de tu piel, no darte calor. Poliéster técnico o merino, nunca algodón.
- Capa intermedia: aislar. Forro polar (barato y funciona mojado), pluma (ligerísima pero inútil mojada) o sintético.
- Capa exterior: proteger de agua y viento. Busca columna de agua de 10.000 mm como mínimo y costuras termoselladas. Sin eso no es impermeable: es un chubasquero de feria.
La gracia del sistema es que te vas quitando y poniendo capas según el esfuerzo. Sales con tres, a los diez minutos de subida te quedas en una, y en la cima te las pones todas otra vez. Esa gestión es la diferencia entre pasarlo bien y pasar frío.
4. La mochila
Para empezar, una de 20 litros te sobra (15-20 L media jornada, 25-35 L día completo o refugio). Y ahora lo que casi nadie te dice: el 80% del peso debe ir en las caderas, no en los hombros. El cinturón lumbar se ajusta sobre el hueso de la cadera, y solo después aprietas los tirantes. Si acabas con los trapecios destrozados no es que la mochila sea mala: es que la llevas mal puesta. La Osprey Stratos 24 es la que uso yo para rutas de día por su ventilación, aunque para empezar cualquier mochila con cinturón lumbar decente vale. Regla de peso: no cargues más del 20% de tu peso corporal.
5. Los bastones (los infravalorados)
Mucha gente los ve como cosa de abuelos. Los estudios biomecánicos miden reducciones de carga sobre las piernas del 12-16% en subida y del 19-22% en bajada. Traducido: tus rodillas te lo agradecen, sobre todo en descensos largos, que es donde más se destroza uno. Para empezar, aluminio (más barato y resistente que el carbono). Ajústalos para que el codo te quede a 90 grados: acorta en subida, alarga en bajada.
Los 10 esenciales que caben en cualquier mochila
- Navegación: mapa offline, brújula, GPS.
- Protección solar: crema SPF 30+, gafas y gorra.
- Aislamiento: una capa extra más de la que crees que necesitas.
- Iluminación: frontal. Sí, aunque salgas de día.
- Primeros auxilios: botiquín básico con apósitos para ampollas.
- Fuego: mechero o cerillas impermeables.
- Kit de reparación y navaja.
- Nutrición: comida extra para un día más.
- Hidratación: agua extra o forma de potabilizar.
- Refugio de emergencia: manta térmica. Pesa 50 g y no ocupa nada.
De todos, los dos que más gente olvida y más vidas salvan son el frontal y la manta térmica. Cuestan poco, no pesan nada, y el día que los necesites los vas a necesitar de verdad.
Agua, comida y meteorología
Agua: entre 0,5 y 1 litro por hora de caminata, y hasta 1,5 L/h con calor fuerte. Bebe poco y a menudo, unos 200 ml cada media hora, sin esperar a tener sed: con solo un 2% de pérdida de peso corporal en agua ya te cae el rendimiento y la capacidad de decidir. Y en montaña, decidir mal es lo peligroso. Comida: hidratos antes de salir, y durante la ruta frutos secos, fruta, barritas y algo de sal.
Google Maps no sirve en montaña: no tiene senderos, ni curvas de nivel, ni funciona sin cobertura. Usa Wikiloc (gratis, la mayor base de rutas en español), Komoot, los mapas oficiales del IGN u Organic Maps, y descarga siempre el mapa offline antes de salir de casa. Para el tiempo, no mires el pueblo: mira la predicción de montaña de AEMET por zonas. Y ojo con las tormentas de tarde en verano: planifica para estar bajando antes de las 14:00.
Seguridad: lo que de verdad te salva
Avisa siempre a alguien de tu ruta y de tu hora estimada de regreso. Es lo que convierte una búsqueda de doce horas en un rescate de una.
Manda el track por WhatsApp antes de salir, literalmente eso. En emergencias, el 112 es gratuito y funciona sin saldo e incluso sin cobertura de tu operador si hay otra red disponible; instálate también My112 o Alpify, que envían tu geolocalización exacta, que es lo que más tiempo hace perder en un rescate.
Y algo que sorprende a mucha gente: la Seguridad Social no cubre accidentes deportivos, y en varias comunidades el rescate en montaña se factura. La solución barata es la licencia federativa de tu federación autonómica: cubre asistencia sanitaria, rescate y responsabilidad civil por unas decenas de euros al año. Si sales más de 10 veces al año, sale a cuenta desde el primer día.
- Si te pierdes, párate. No sigas «a ver si sale», porque casi nunca sale.
- No bajes por barrancos ni cauces: es el error clásico que acaba en cortado.
- Vuelve al último punto donde sabías dónde estabas.
- Si no lo consigues, llama al 112 antes de que anochezca. No esperes por vergüenza.
Cómo montar tu equipo por menos de 200 €
Esto es exactamente lo que hago en el vídeo de arriba: montar un equipo completo y funcional partiendo de cero, sin gastar una fortuna. El reparto orientativo:
| Elemento | Presupuesto | Nota |
|---|---|---|
| Botas de media caña | 60-80 € | Aquí va el grueso. No lo recortes. |
| Chaqueta impermeable | 30-45 € | Mínimo 10.000 mm de columna de agua. |
| Forro polar | 15-20 € | Marca blanca funciona perfectamente. |
| Capa base técnica | 10-20 € | Cualquier camiseta técnica sirve. |
| Mochila 20 L | 20-30 € | Con cinturón lumbar. |
| Calcetines técnicos (2 pares) | 8-15 € | Merino o sintético. |
| Bastones de aluminio | 15-25 € | Opcional pero muy recomendable. |
| Accesorios | 15-25 € | Gorra, frontal, botiquín, manta térmica. |
Dónde invertir: calzado y capa impermeable, que son seguridad y no lujo. Dónde ahorrar: capa base, forro polar y accesorios, donde la marca blanca cumple de sobra. Y una opción que casi nadie aprovecha: la segunda mano. Decathlon Ocasión, los outlets de tiendas técnicas, Wallapop y Vinted están llenos de material usado dos veces. Mochilas y chaquetas de segunda mano son una compra excelente; el calzado, mejor nuevo.
Deja el monte mejor de como lo encontraste
- Planifica y prepárate antes de salir.
- Camina y acampa sobre superficies duraderas.
- Todo lo que sube, baja contigo. Incluidas las pieles de fruta.
- Deja lo que encuentres y minimiza el impacto del fuego.
- Respeta la fauna: no des de comer a los animales.
- En el sendero: todos ceden a caballos, los ciclistas ceden a los peatones y, entre caminantes, el que baja cede al que sube.
Ojo con los parques nacionales: varios tienen restricciones y reservas obligatorias. En Peñalara el vivac requiere solicitud previa, en Ordesa solo se permite en la zona de Góriz con reserva, y el acceso al pico del Teide necesita permiso. Consúltalo antes de ir.
Tres rutas fáciles para empezar cerca de Madrid
- Senda Ecológica de Canencia: unos 6 km, desnivel suave, sombra y arroyo. Perfecta para la primera vez.
- Charca Verde y Angostura, Rascafría: unos 6 km, muy señalizada, apta para ir con niños.
- Laguna Grande de Peñalara: unos 7 km con 600 m de desnivel. Un escalón más exigente, ya con paisaje de alta montaña. Consulta siempre el parte de AEMET.
Y ahora, sal a caminar
- Elige una ruta por debajo de tu nivel para las primeras salidas.
- Invierte en calzado y en capa impermeable; en el resto, ahorra sin miedo.
- Avisa siempre a alguien de por dónde vas.
Con eso ya estás por delante del 58% de la gente que necesita un rescate. En el vídeo de arriba te enseño en mano cómo monto el equipo completo por menos de 200 €, pieza por pieza, para que veas exactamente qué comprar y qué no.
Si esto te ha molado, mírate estos
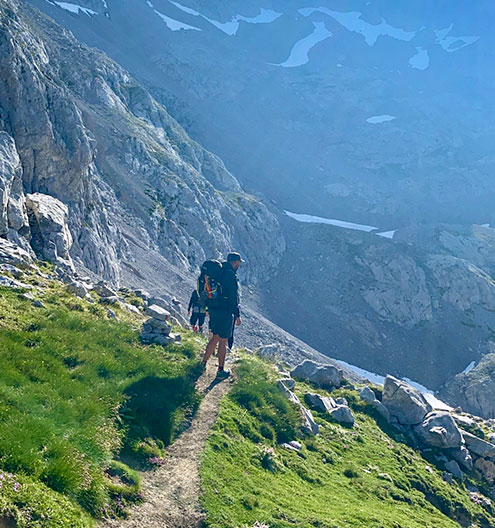
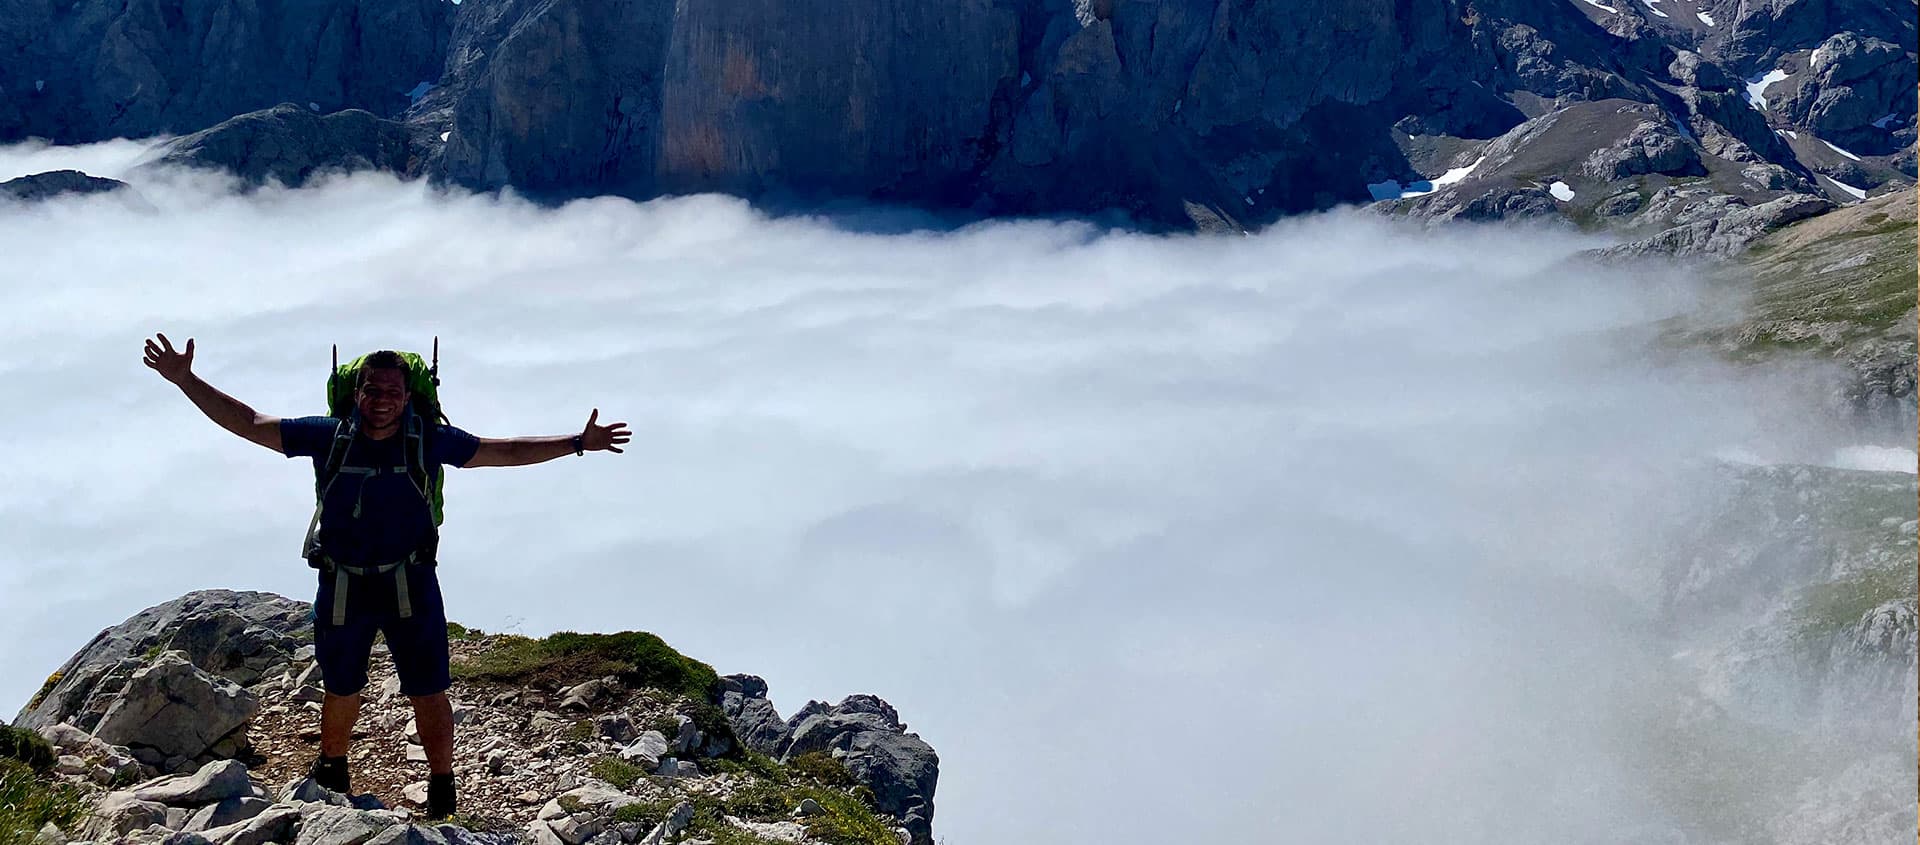
Cuando le hayas cogido el gustillo a las rutas de día, el siguiente escalón es una travesía de varios días. Yo hice el Anillo de Picos en solitario: seis días y 100 kilómetros cruzando los tres macizos de Picos de Europa, durmiendo en refugios y con el mar de nubes por debajo. Está grabado entero y es, de largo, lo más bonito que he hecho en montaña. Ponte cómodo, dale al play y disfrútalo: es exactamente hasta dónde te puede llevar esto que acabas de empezar.
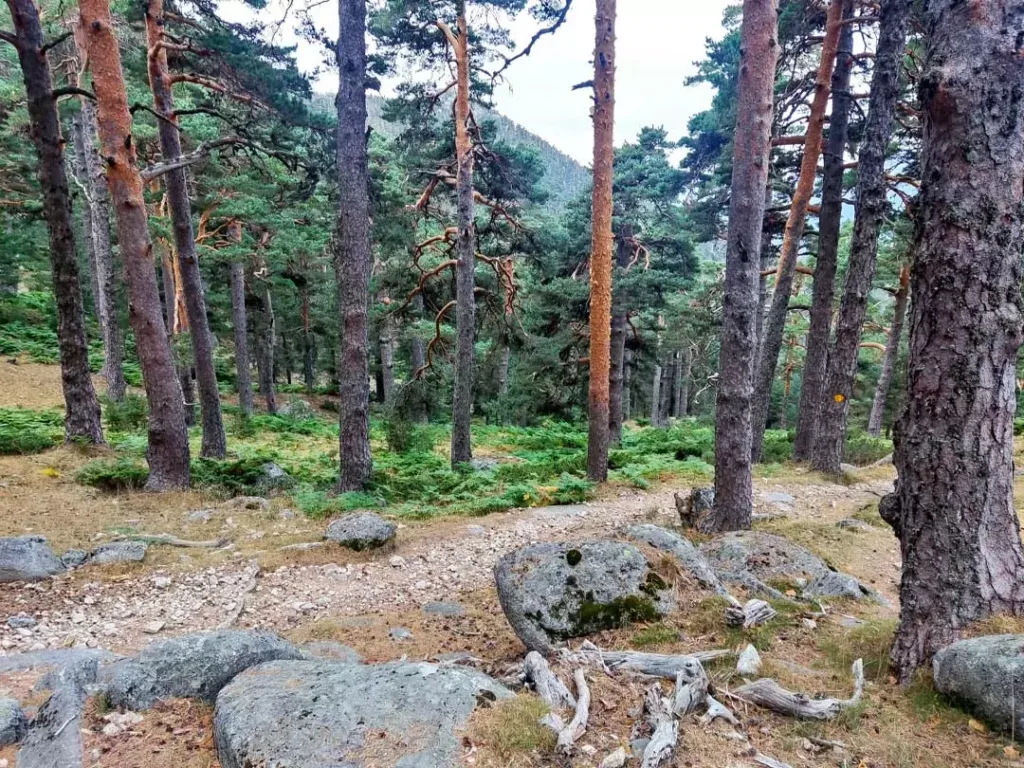
Y si te pilla más cerca la Sierra de Madrid, el Camino Schmidt es la ruta perfecta para estrenar todo lo que has leído aquí: 13 km entre pinares, bien señalizada, con historia detrás y sin complicarte la vida. Nos vemos por el monte.
Preguntas frecuentes
¿Qué diferencia hay entre senderismo y trekking?
El senderismo es caminar por senderos señalizados, normalmente en una jornada. El trekking implica travesías de varios días, con pernocta y mayor autonomía.
¿Cuántos kilómetros puede caminar un principiante?
En llano, entre 2,5 y 3 km/h de ritmo cómodo. Para la primera ruta, unos 5-7 km con poco desnivel es un objetivo perfecto.
¿Qué necesito para empezar a hacer senderismo?
Calzado adecuado, ropa por capas (nada de algodón), mochila pequeña con agua y comida, y una ruta elegida a tu nivel. No hace falta experiencia previa.
¿Cuánta agua hay que llevar?
Entre 0,5 y 1 litro por hora de marcha; hasta 1,5 L/h con calor fuerte. Bebe poco y a menudo, sin esperar a tener sed.
¿Botas o zapatillas para empezar?
Zapatilla de trekking si el terreno es fácil y seco. Bota de media caña si hay piedra suelta, barro o llevas mochila cargada. Para un solo par, la bota de media caña es más versátil.
¿Es seguro hacer senderismo solo?
Sí, en rutas populares y bien señalizadas, siempre que avises a alguien de tu recorrido y hora de vuelta, y lleves el móvil cargado.
¿Qué ropa tengo que evitar?
Algodón y vaqueros. Se empapan de sudor, no secan y te enfrían.
¿El rescate en montaña es gratuito?
Depende de la comunidad autónoma: en algunas se factura. La licencia federativa de montaña lo cubre, junto con asistencia sanitaria y responsabilidad civil.
¿Cómo elijo mi primera ruta?
Corta, circular, cerca de casa y señalizada como PR o SL. Si viene con MIDE, busca valores de 1 o 2.
¿Hacen falta bastones?
No son obligatorios, pero reducen la carga sobre las rodillas en torno a un 20% en bajada. En descensos largos se notan muchísimo.
El equipo de este vídeo
Lo que llevé y de verdad mereció la pena. Enlaces de afiliado.
Botas
Mochilas
Capas
Algunos enlaces son de afiliado (Amazon y Decathlon): si compras a través de ellos me llevo una pequeña comisión sin coste extra para ti. En calidad de Afiliado de Amazon, obtengo ingresos por las compras adscritas que cumplen los requisitos aplicables. Solo recomiendo material que uso de verdad.